
How to Install Windows 11 from USB on Surface Pro Electricity may additionally appear like a frightening assignment, but it is much less tough than you observed. Whether upgrading from an older version of Windows or performing a clean installation, this step-through-step guide will stroll you through the technique smoothly.
This manual covers everything—from developing a bootable USB power to installing Windows 11 and everything in between. Using Forestall, you can understand how to get your Surface Pro up and strolling with Microsoft’s current OS.
Why Install Windows 11 from a USB?
There are numerous reasons you’ll likely need to put in Windows 11 via USB in the region of upgrading your gadget straight away:
- Fresh Start: A clean installation guarantees no leftover documents or settings from preceding installations, offering you a sparkling slate.
- Troubleshooting: If your Surface Pro has troubles like sluggish overall performance or mistakes, a cutting-edge setup can frequently treat them.
- Flexibility: USB installation lets you pass problems like community recommendations or restrained disk space.
To adopt this technique correctly, allow’s solution to the vital factor question:
How Do I Install Windows 11 from a USB on a Surface Pro?
Follow those precise steps to put Windows 11 on your Surface Pro.
Step 1: Prepare the USB Drive
To install Windows 11, you can first want to create a bootable USB strain with the Windows 11 ISO record.
1. Download the Windows 11 ISO File
- Visit the legitimate Microsoft Windows 11 download page.
- Download the ISO record, which is well desirable alongside your tool. Make sure your Surface Pro meets the Windows 11 machine’s necessities.
2. Create a Bootable USB Drive
To make your USB stress bootable, you’ll need a device like Rufus or Microsoft’s Media Creation Tool:
- Rufus:
- Insert a USB electricity with at least 8GB capability into your computer.
- Download and launch Rufus.
- Select the USB force, upload the ISO file, and click “Start.” Rufus will create the crucial bootable pressure.
- Media Creation Tool:
- Download it from Microsoft’s website.
- Embed your USB strain, open the device, and select “Make establishment media (USB).”
Note: Ensure the USB pressure is formatted to NTFS or FAT32 and return any critical records from the USB because they may be erased.
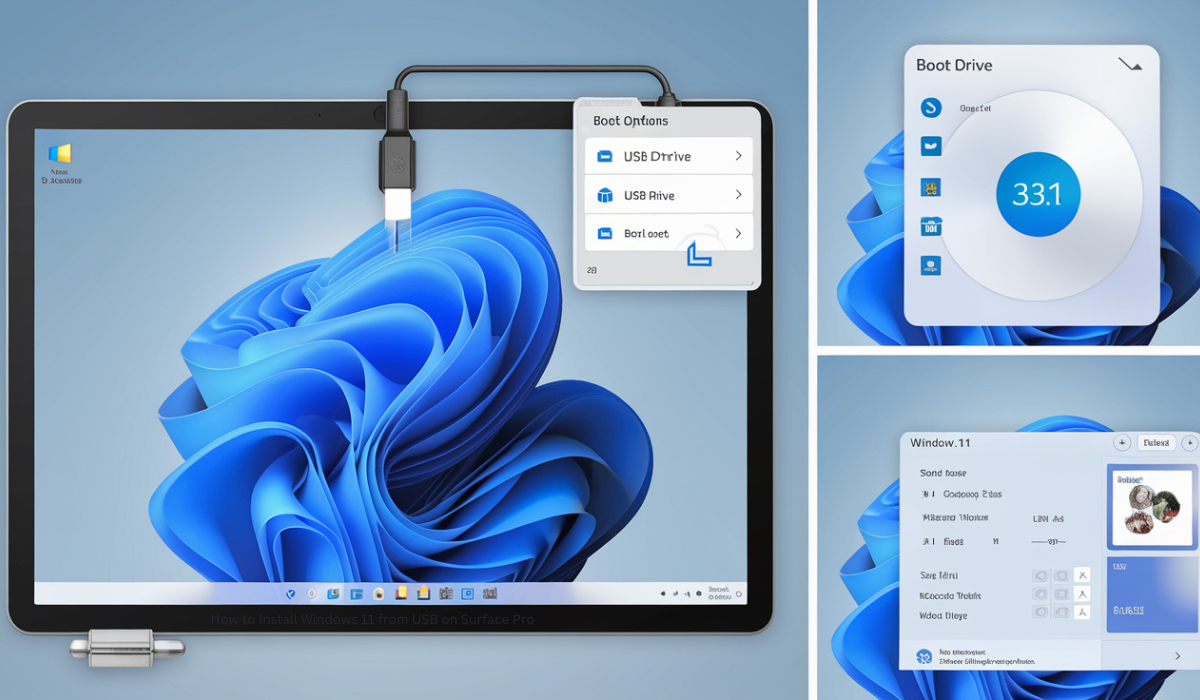
Step 2: Boot From the USB Drive
Once your bootable USB power is ready, the subsequent step is to use it in addition to your Surface Pro.
1. Shut Down Your Surface Pro
Ensure your tool is grown to turn out to be off earlier than intended.
2. Insert the Bootable USB Drive
Plug the USB force into your Surface Pro. Use the sizeable USB port or an adapter if critical.
3. Access the Boot Menu
- Press and keep the quantity-down button.
- While preserving it, press the electricity button as soon as possible to begin your Surface Pro.
- Keep preserving the quantity-down button till you notice the Surface logo.
4. Select the USB Drive because the Boot Device
- Use the alternatives exhibited to pick out your USB electricity because of the boot supply.
- Once decided on, your Surface Pro will begin booting from the USB strength.
Step 3: Install Windows 11
With the USB stress booting well, you can preserve it with the Windows 11 installation method.
1. Follow On-Screen Instructions
Once the installer launches:
- Choose your language, time format, and keyboard format.
- Select “Install Now.”
2. Select Installation Type
You’ll have alternatives:
- Upgrade: Keeps your files and programs at the same time as updating to Windows 11.
- Custom: (Clean Install): Wipes everything for a sparkling setup. Recommended for a modern begin or super tool changes.
3. Choose a Partition
- Select the partition wherein Windows 11 can be established. This is commonly the number one energy classified as “Drive 0.”
- If you have an easy setup, delete previous walls to fill the vicinity, then pick out the unallocated location for the contemporary setup.
4. Complete the Installation
- The setup will run automatically after confirming your options.
- Your Surface Pro will restart multiple instances sooner or later of the machine.
- Once you’re finished, you’ll be taken through the last steps to set up your tool, like logging into your Microsoft account and customizing settings.
What Should You Remember Before Installing Windows 11?
Before leaping into the setup approach, here are crucial tips to keep in mind:
1. Back Up Your Data
An easy installation will erase your present-day statistics. Ensure all vital files (documents, photographs, or maybe app settings) are backed as an entire lot as an outdoor strength or cloud storage.
2. Check Compatibility
Not all Surface Pro models assist Windows 11. Verify that your model meets the Windows 11 device requirements.
3. Keep Your Product Key Handy
After setup, you might also want a legitimate Windows 11 product key to spark off the OS. Ensure you’ve got this earlier than intended.
4. Stable Power Source
Ensure your Surface Pro has sufficient battery or is plugged in for the duration of the approach to avoid interruptions.
Conclusion
Installing Windows 11 from a USB for your Surface Pro opens the door to a streamlined, modern-day strolling system prepared with powerful abilities. By following this complete guide, you’re setting yourself up for a clean and successful installation gadget. If you’re uncertain about Compatibility or want assistance developing a bootable USB, don’t hesitate to contact Microsoft’s help team or a dependent tech expert. A higher, quicker, and more stable workspace is only some clicks away.
FAQ Section
Q1. How do I understand if my Surface Pro is well-matched with Windows 11?
Microsoft has special requirements for Windows 11. Verify your tool with the use of the PC Health Check Tool.
Q2. Will I lose my statistics within the path of a clean installation?
Yes, a clean installation will erase all information on the chosen partition. Always lower essential files again earlier than intended.
Q3. Can I enhance my Surface Pro without a USB?
You can immediately improve via Windows Update if your device allows it. However, using a USB is commonly recommended for clean installs or troubleshooting.
Q4. What tools can I use to create a bootable USB strain?
Rufus and Microsoft’s Media Creation Tool are well-known options. Both are smooth to use and relatively dependable.
Q5. Is it vital to format the walls at some point of installation?
However, formatting ensures all previous files and settings are eliminated, presenting an easy start.
Q6. Can I use the identical USB strain for more than one installation?
Yes, the bootable USB may be reused; however, ensure it includes the right ISO version for the installed gadgets.
Q7. How long does the setup manner take?
It commonly takes 20–40 minutes, depending on your tool’s performance and Compatibility.